Step 1
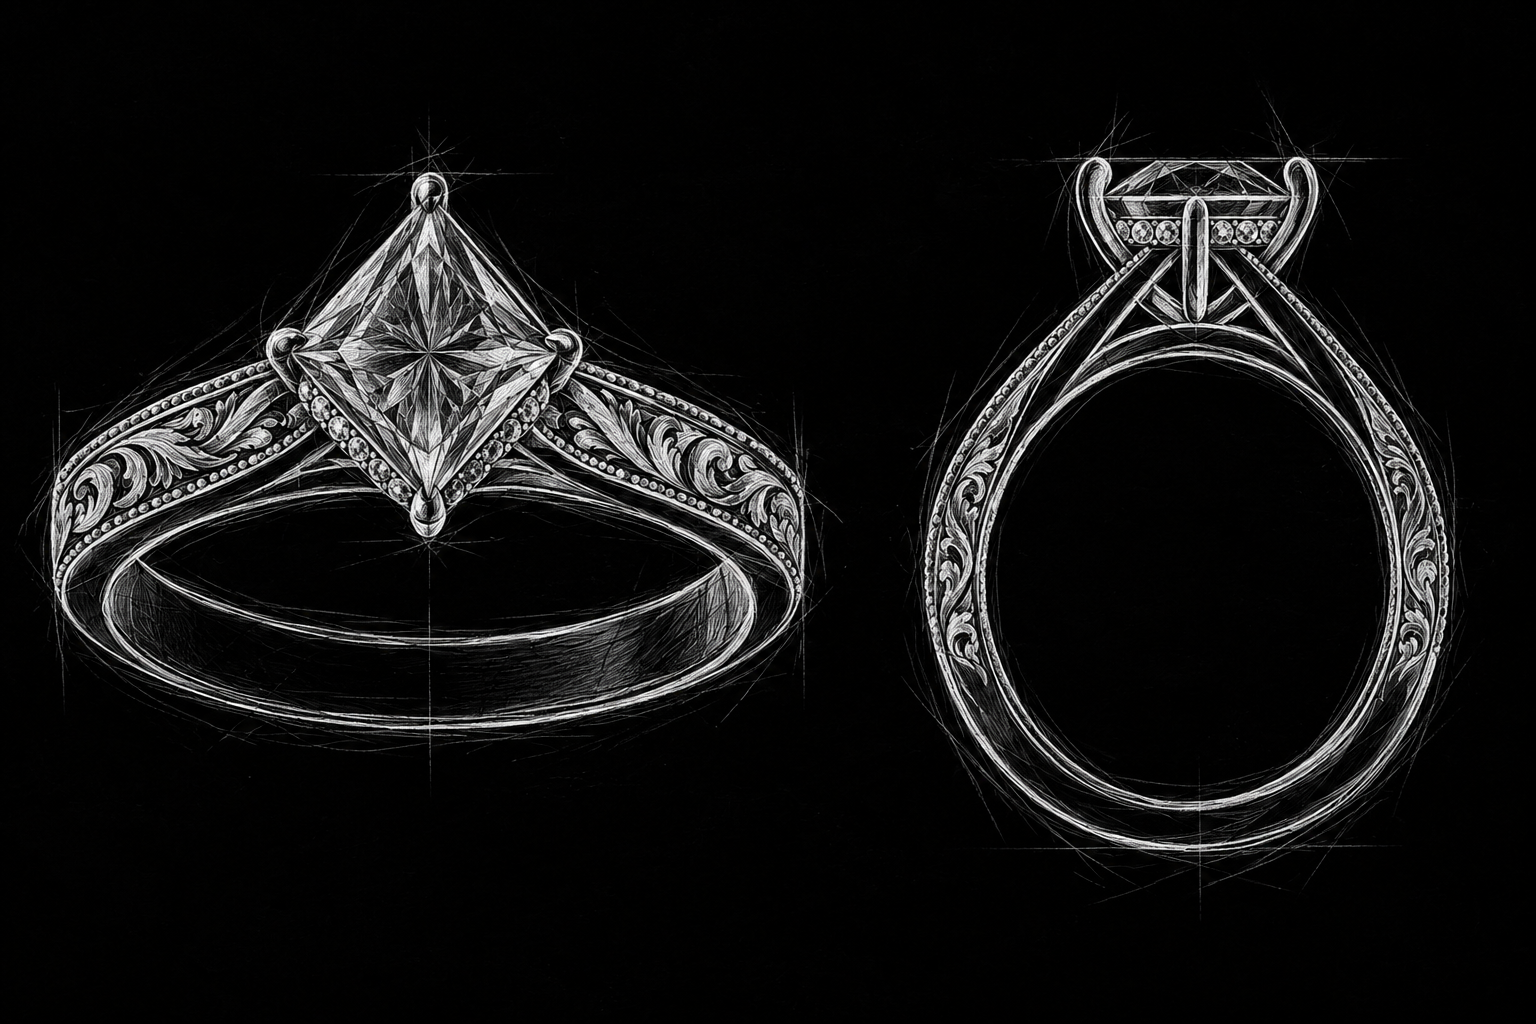
Sketch direction
The client had struggled to find the right centre stone, so we sourced it for them. We then suggested custom-cut side stones that echoed the shape and orientation of the main stone, creating a balanced and cohesive design.

Ornate Rose-Gold Pink Centre Ring
Step 1
The client had struggled to find the right centre stone, so we sourced it for them. We then suggested custom-cut side stones that echoed the shape and orientation of the main stone, creating a balanced and cohesive design.
Step 2
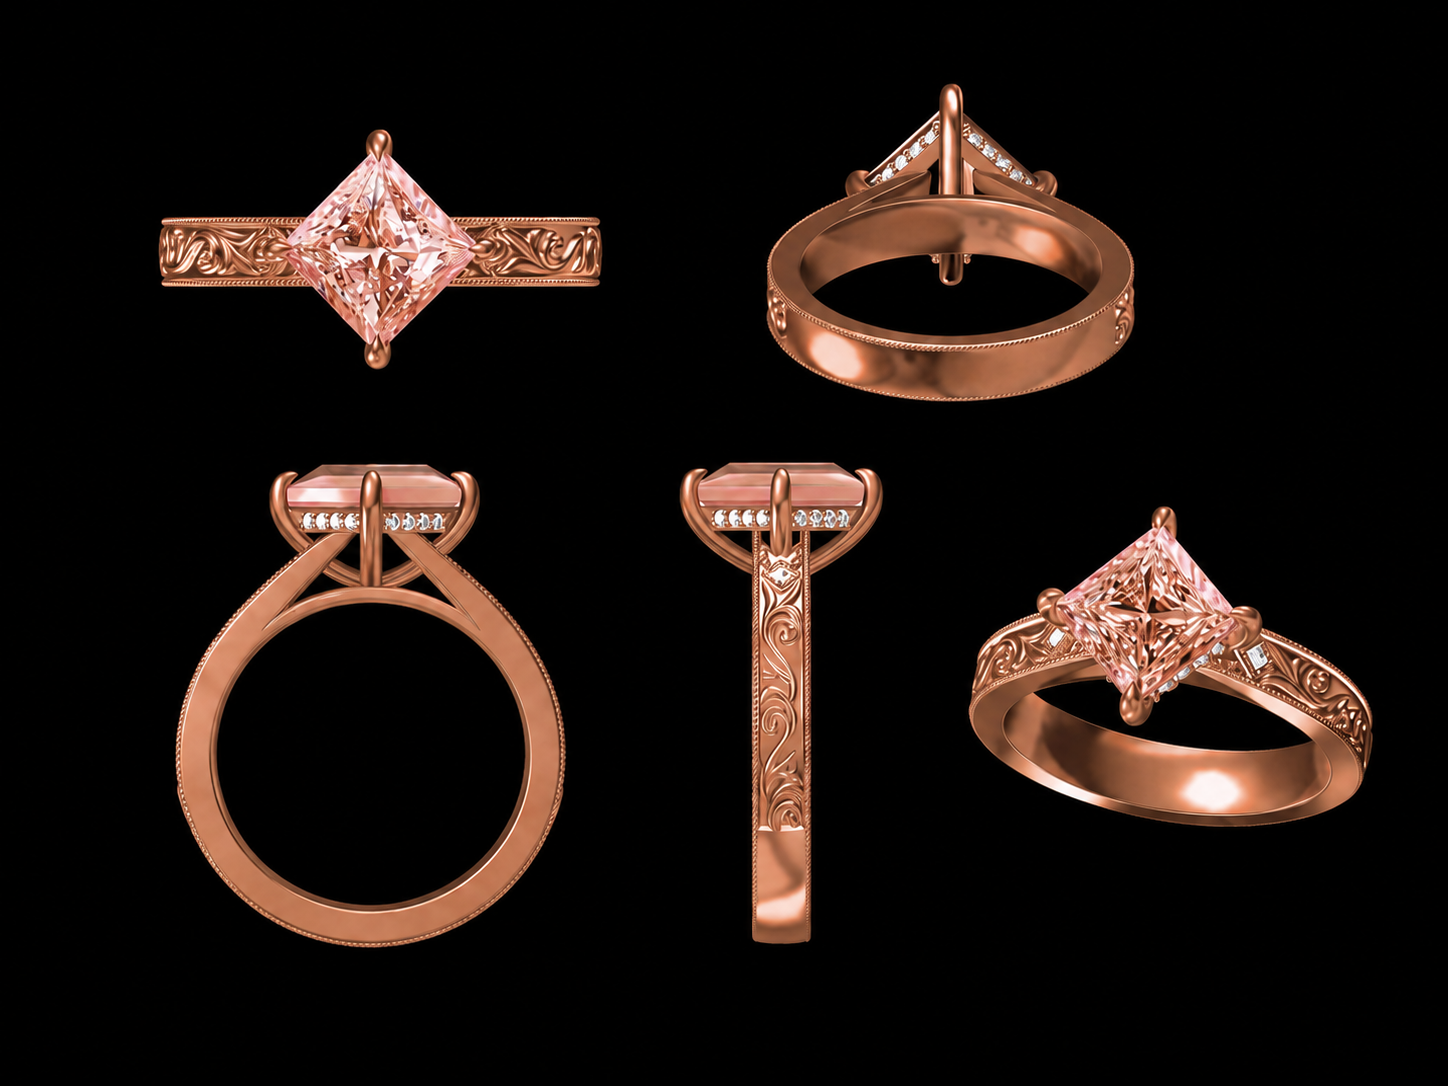
The design was translated into CAD to refine the engraved band, hidden accent stones, setting structure and proportions from every angle.
Step 3
The finished ring brings the pink centre stone, warm rose gold and intricate hand-finished detailing together in the completed piece.
Platinum Floral Prong Setting .8ct Pear Cut Pear
"It is so much more beautiful in person than on the design. Thank you, it's perfect"
Step 1
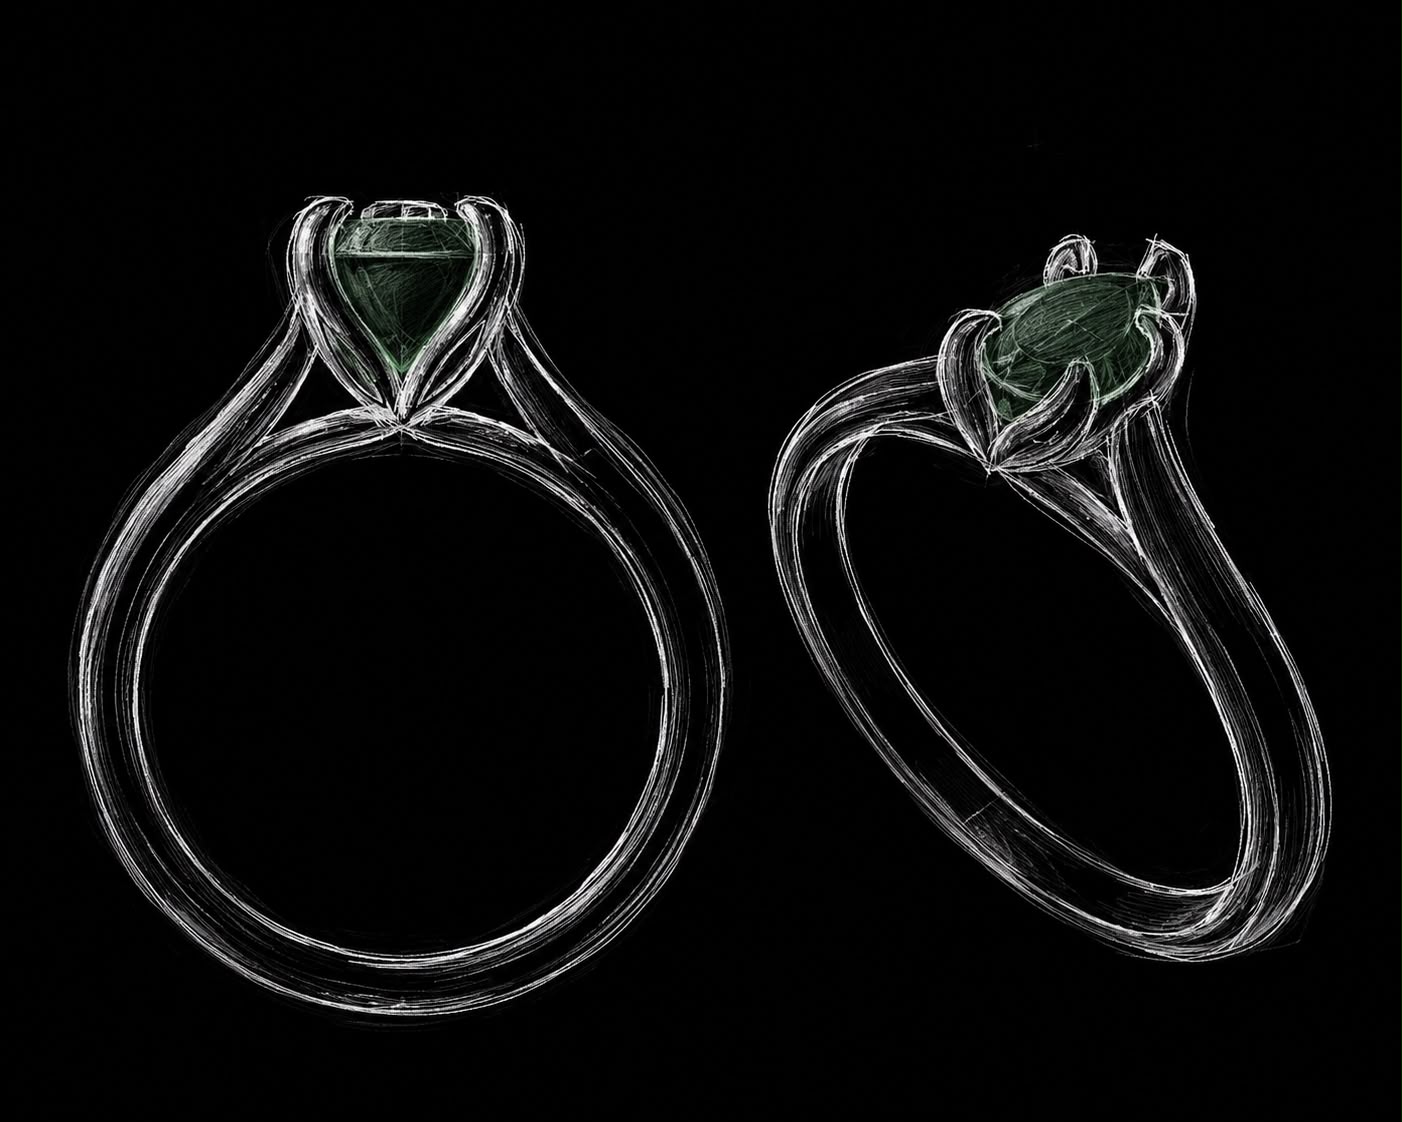
The client knew they wanted an emerald centre stone, so the first stage was sketching a setting direction that would suit the shape and give the ring the right overall balance.
Step 2
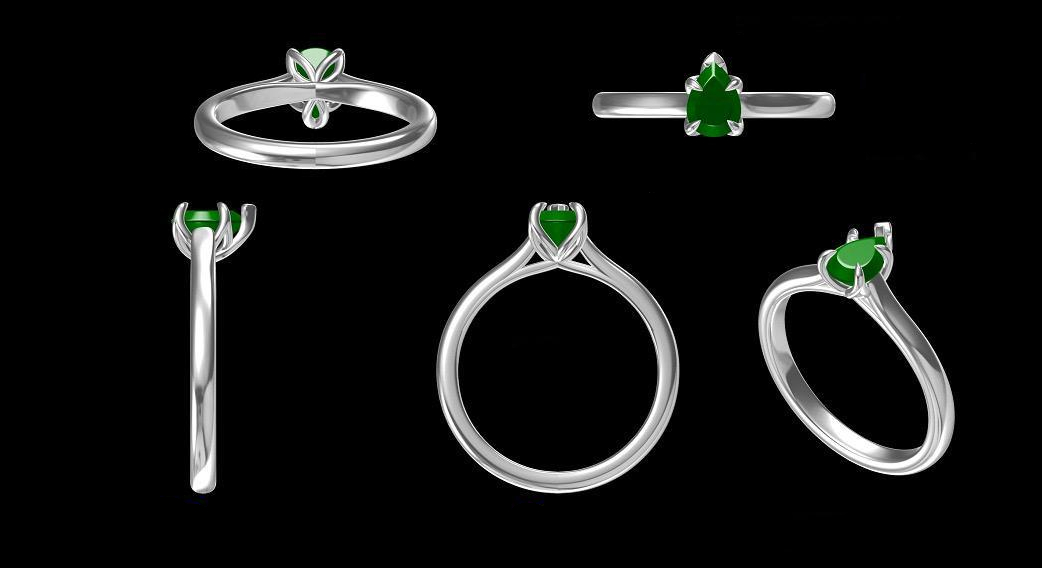
Once the design direction was agreed, we refined the setting in CAD so the claws, profile and proportions could be carefully perfected before production. The client loved the design.
Step 3
The finished ring brought the design to life exactly as intended, with the completed setting and emerald shown here in the final piece.
Platinum Petal Setting 1ct
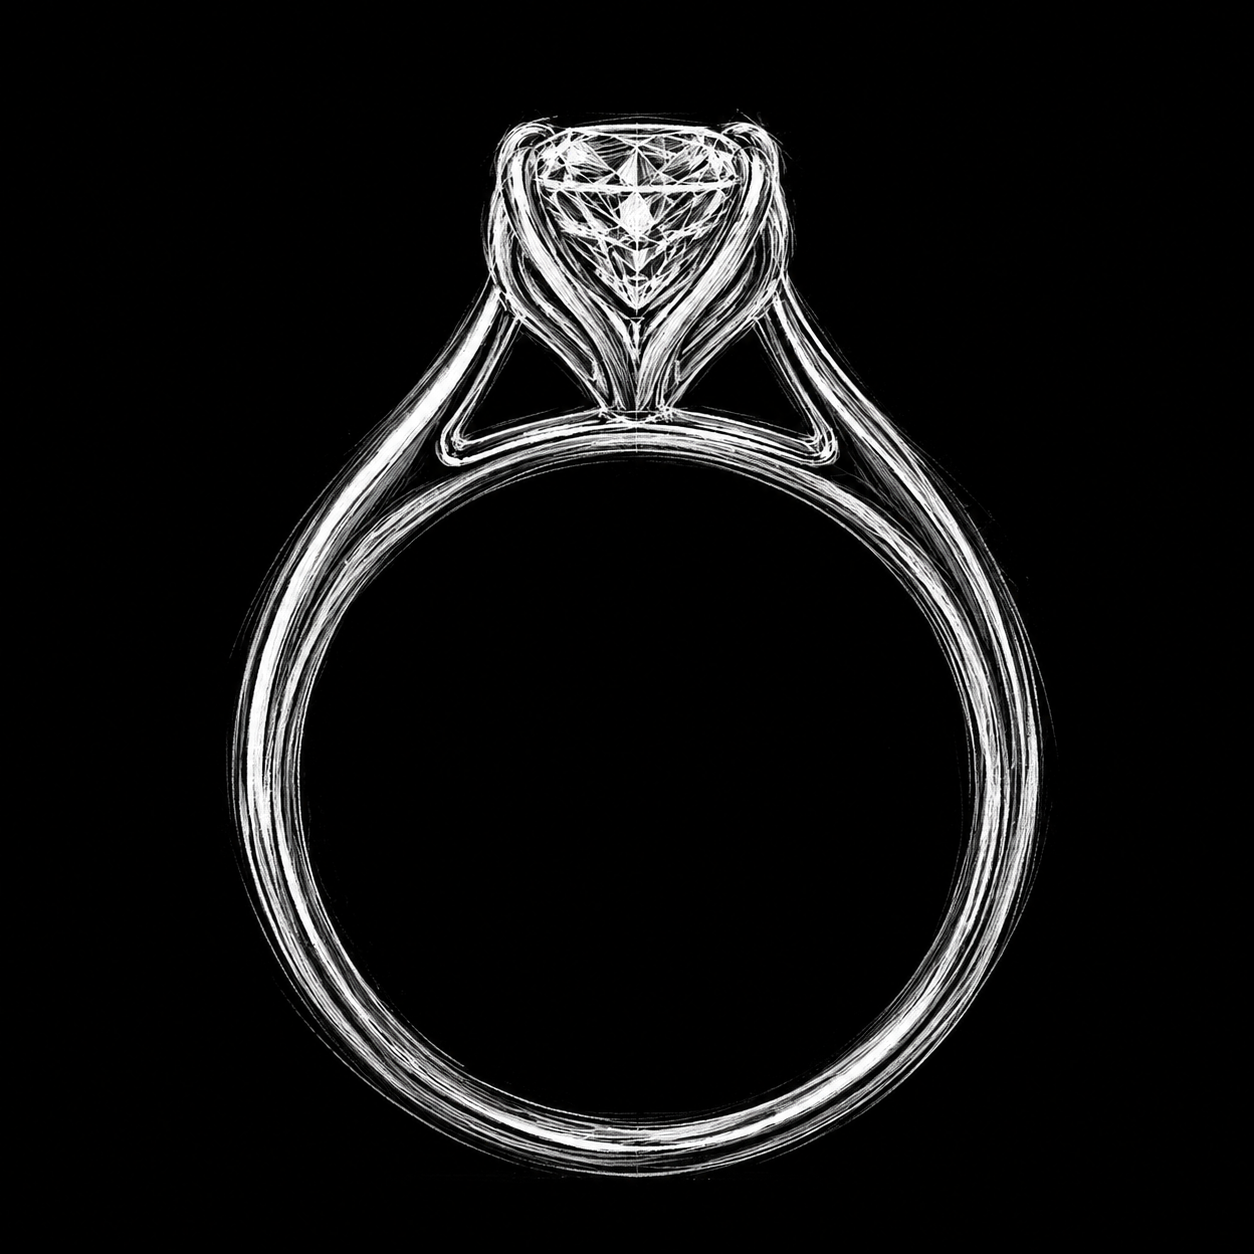
Step 1
The client wanted guidance, so we helped shape the brief from the start and suggested platinum, the right size direction, and a design that would feel balanced and elegant.
Step 2
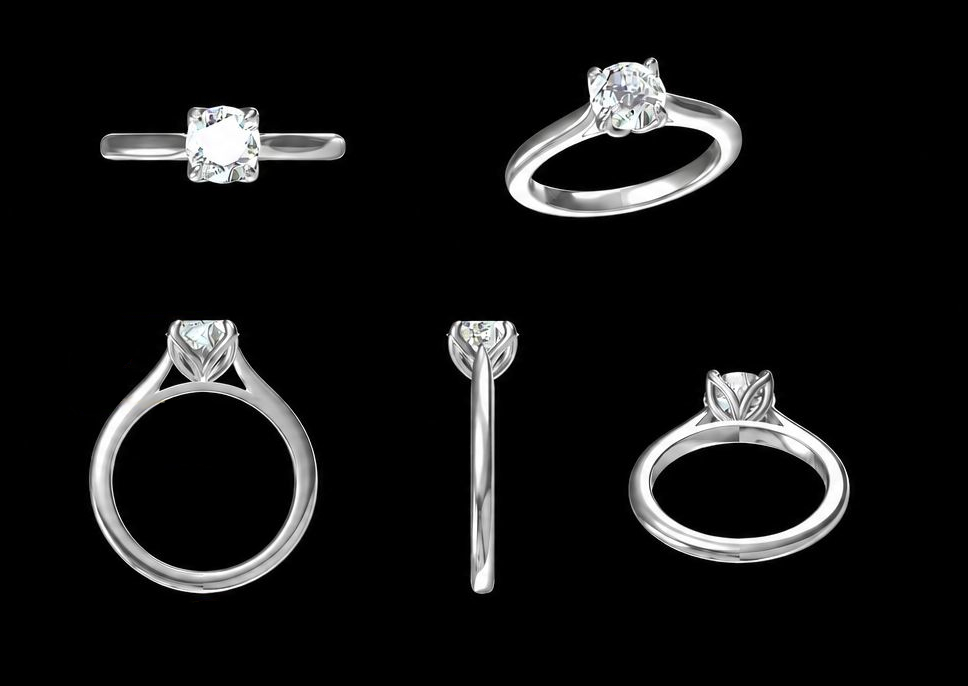
Once the direction was agreed, we developed the ring in CAD so the setting, proportions and overall profile could be carefully refined before production.
Step 3
The finished ring brought that guidance and design process together in the completed piece, exactly as intended.